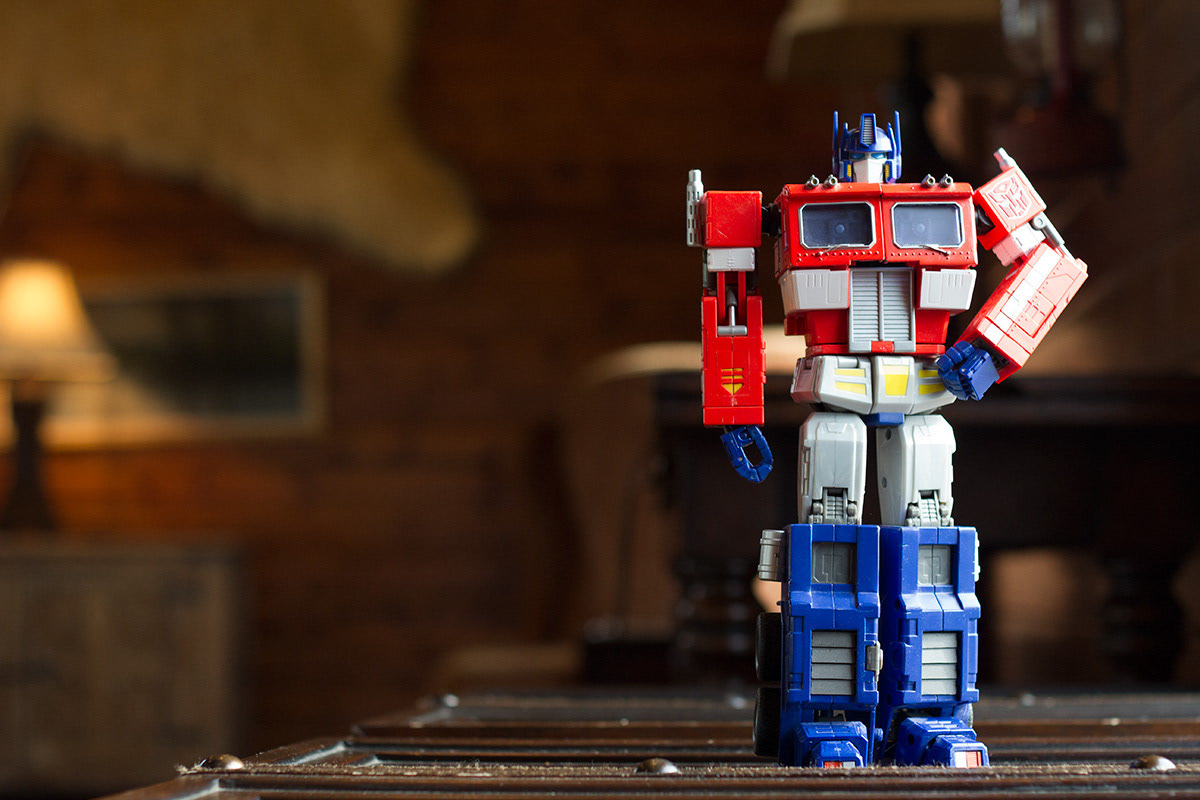
This is the final product. A total of 77 shots were used to compose this animation
PROJECT DETAILS:
Client: ME
Agency: None
Date: 2012
Type: animation, stop-motion, photography
PRODUCTION NOTES:
As a kid I would construct simple stop motion animations first with my parents Polaroid camera, and then disposable point and shoots when they were available. After years absence I decided it would be a fun personal project to take two things I loved as a kid, Stop Motion Animation and Transformers, and do one of my own.
THE PATIENCE. THE PRIDE, THE PRECISION
Starting off it may not look like much, but properly setting up a scene with lights, camera angle, depth of field and even shutter speed can be seemly small things that can destroy an entire shoot. Fortunately in this case, I took my time to find the right place for the final background, and noted the sunlight direction/intensity. Having an accurate representation of what the final location would look like, while imagining what Optimus would look like greatly helped me plan out my shoot and the overall action that I wanted to accomplish. Creating stop-motion animations is a lot of fun, but be prepared as it is also a lot of work as well.
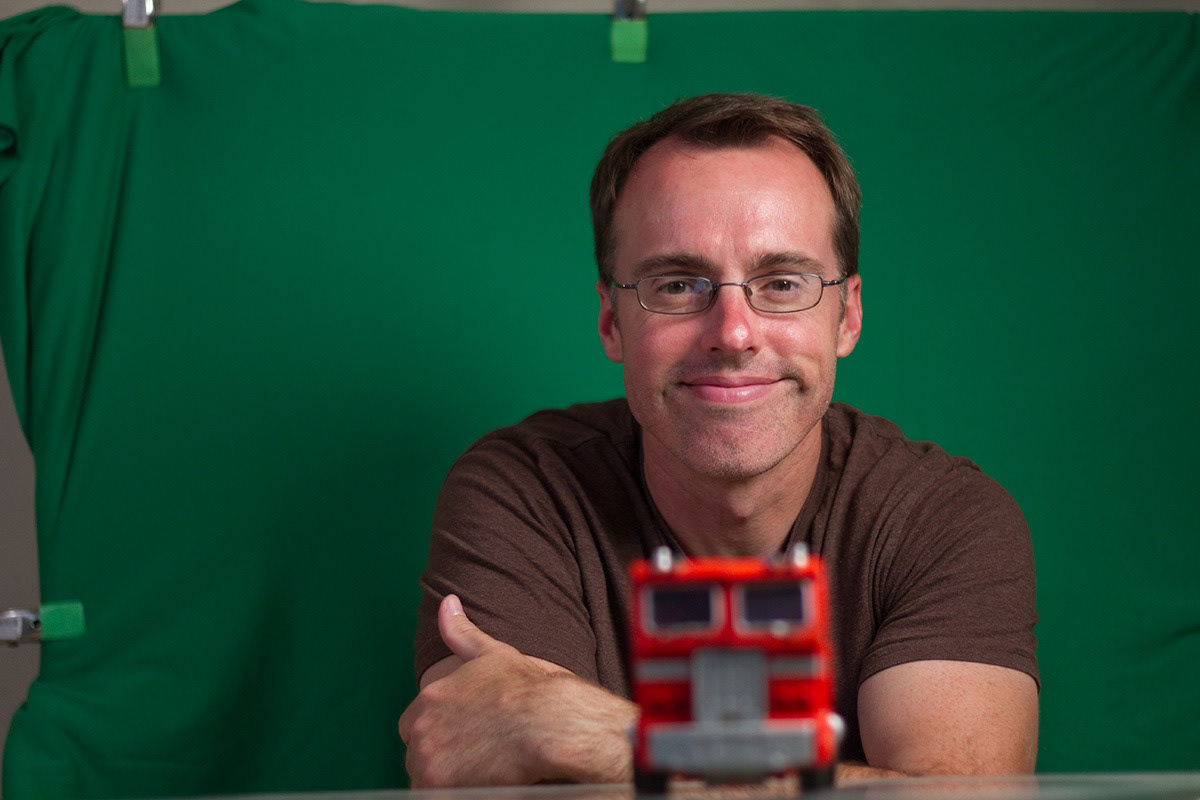
Having fun in my studio :)

Those lights get hot! Each move was done with care to make sure the feet did not move out of place from the last movement...otherwise the animated composite would look like it was "sliding" all around.
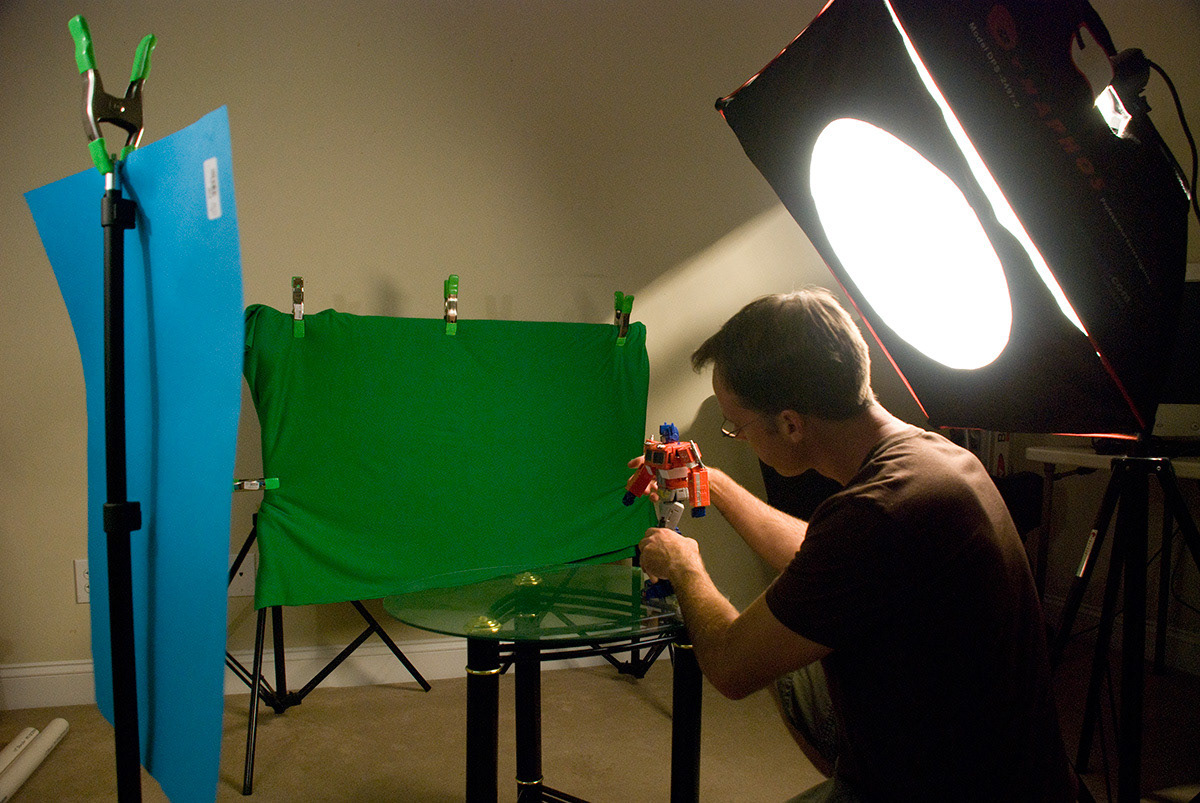
Here you can see nearly all of the setup. One additional softbox was placed on the left side of the scene to give fill light. The blue panel is to offset any green bounce and the yellow hue from the lights, bringing a more balanced color to the subject.

After getting the shot framed up with the green screen in the back and the lights setup, it was time to start the arduous process of moving the subject 1 frame at a time.
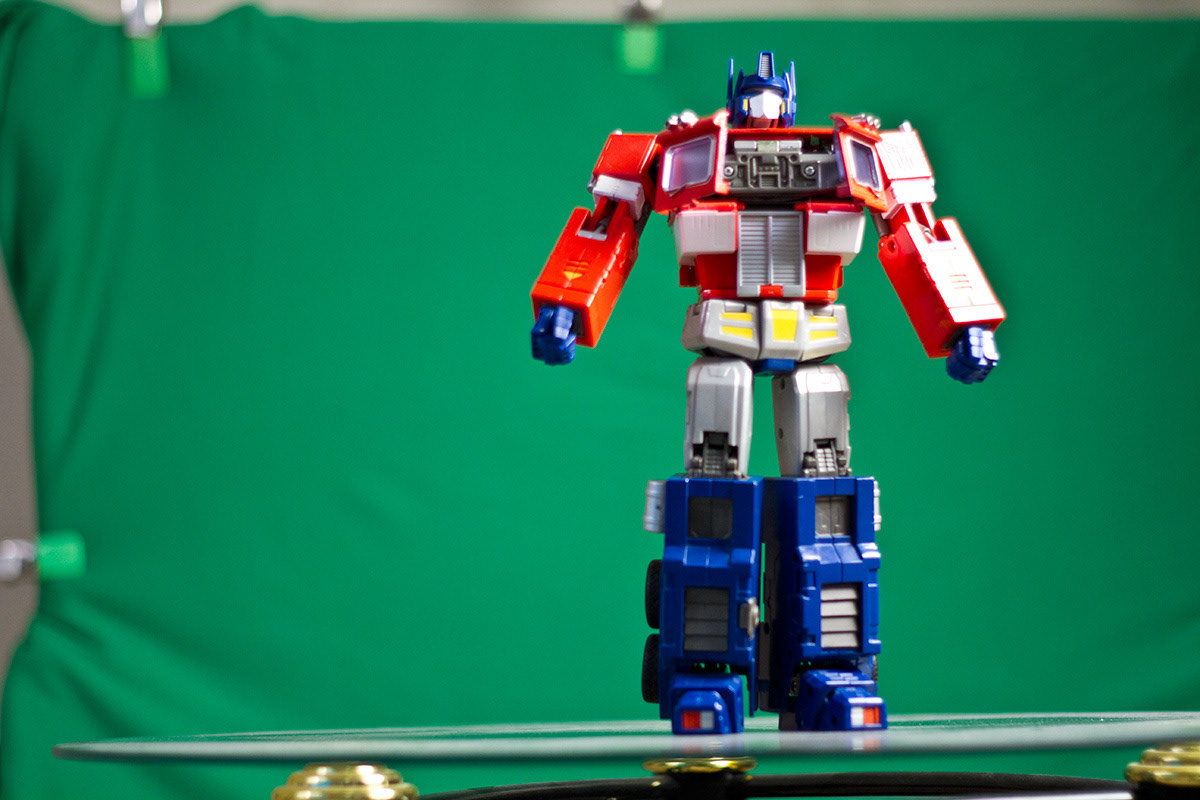
A still of Optimus opening his chest compartment. I did the animation on glass so that there would be less rotoscoping around the feet once I took the images into post. Next time I would have cleaned the glass off better, but it ended up working pretty well.

After I had captured the entire stop motion performance, I had to find a suitable location to superimpose my mechanical hero onto. Since it was summer and HOT outside, I decided to try a cool indoor spot that had a nice warm tone to it. This is the reference plate used for the background of the shot.
